
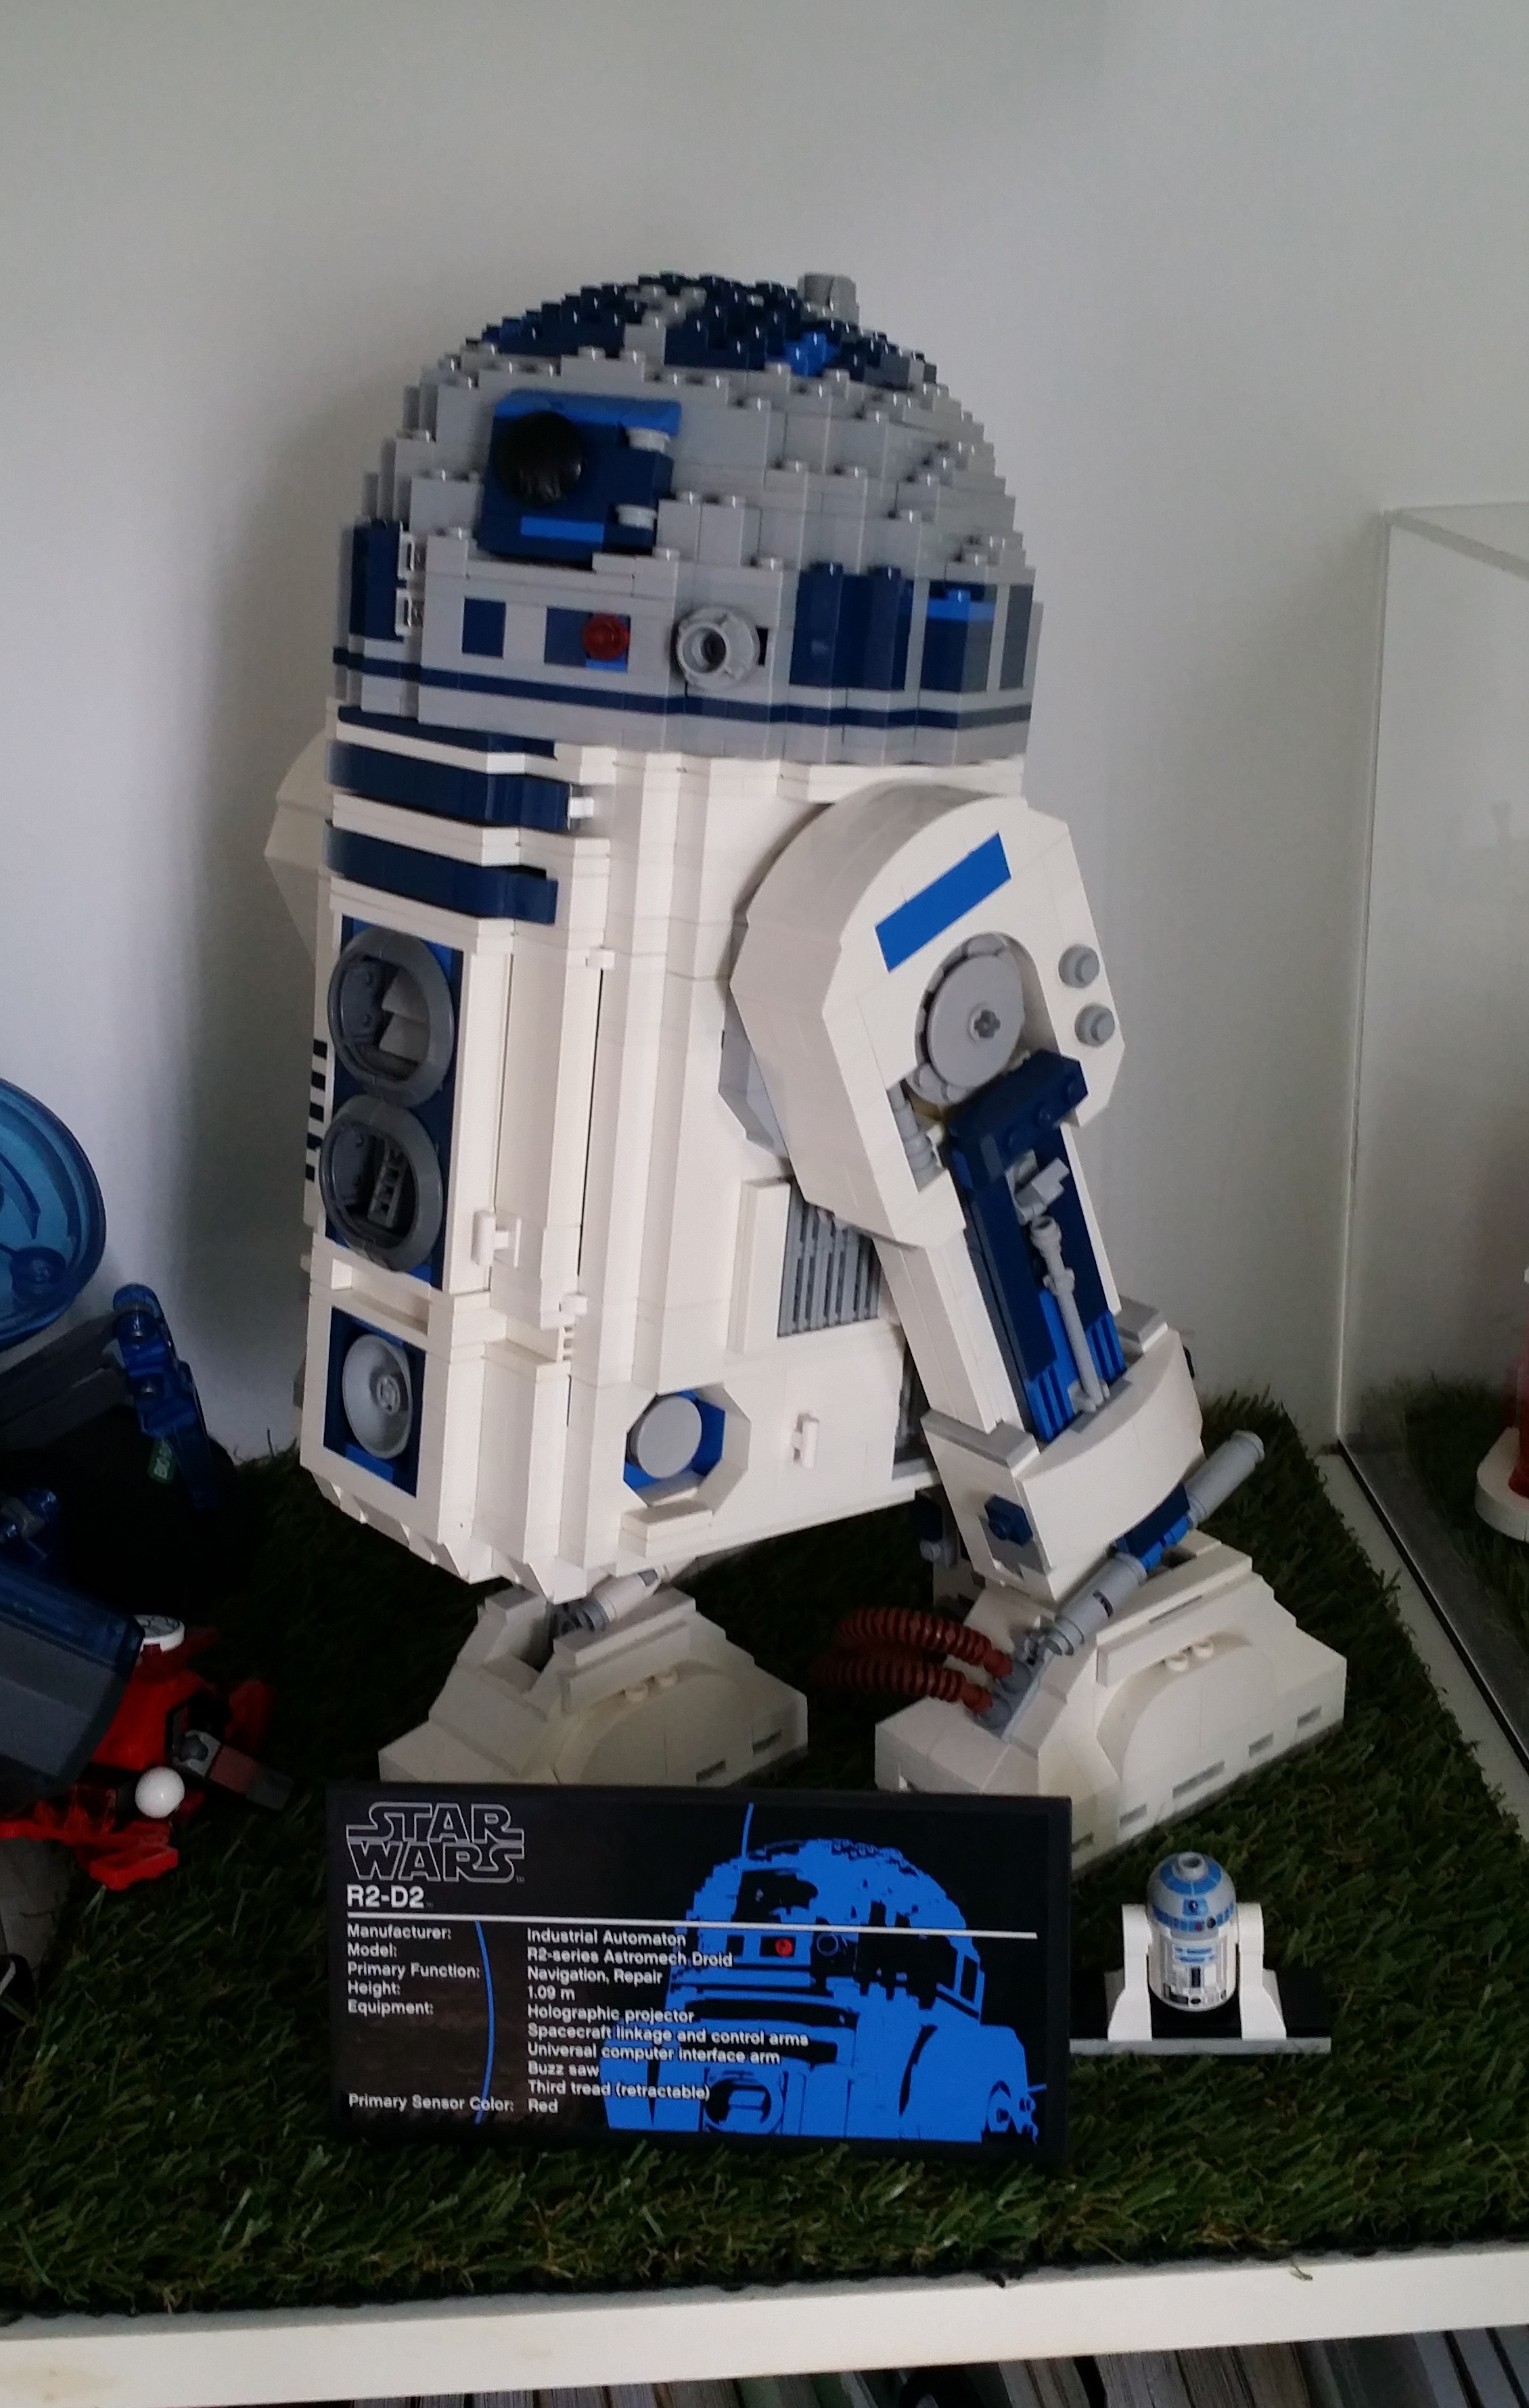
R2D2 in its lovely display case
Introduction
Hi! I am going to show you how to make an acrylic display case. Its real easy to do and also much cheaper than getting it custom-made by shops. You can choose the types, colours and sizes of acrylic sheets to create your case to suit your liking. For this case, I made it 30cm x 30cm x 350cm for the LEGO R2D2(isn’t it gorgeous!) with a mirrored aluminium-acrylic composite panel as the base. Let’s get started!
Background
I built this R2D2 more than a year ago and left it on my shelf like this:
Wild R2D2 has appeared!
It was getting really dusty but I did not really get into building a display case for it then. You might have noticed that there is a display case beside it. That was my first acrylic display case build for my LEGO Volkswagen Camper Van. I did not share the build it as it was not properly documented. Anyways, back to the R2D2:

Dusty
It was a terrible amount of dust built up and it did not do the R2D2 any justice. It was time to get cracking and design a display case for it.
Design

Design Sketch
I took the R2D2s measurements and started drawing the design based on my previous design for the Volkswagen Camper Van. A 30cm x 30cm base was good enough to allow the R2D2 to be propped in different poses and to accommodate the name plate. The R2D2 was measured to be about 32cm. I then rounded this up to 35 cm to give it some headroom.

Assembly Sketch
There are 7 panels in total; 5 Clear panels(Top, A, B, C, D), 1 Black Panel(b) and 1 mirrored panel(a). For the side panels, 2 of them have to be of a smaller width as they will be glued onto the back of the wider panels. This is so that the box will end up with equal sides. Since the panels will all have a thickness of 3mm, the two smaller panels would have to be 6mm less than the other 2 panels. The top will then be glued on the top without any excess on the sides. In my previous build for the Volkswagen Camper Van, I had to sand down the bottom panel a so as to accommodate the cover. In this build, I decided to get the bottom plate 1mm less on each side. Here are the dimensions I got:

Dimensions for the R2D2 Case
The change in thickness for the Bottom Panel a was due to the fact that the company I went to purchase the acrylic only had the panel with a thickness for 4mm.
The sketch and dimensions for the design was really handy when making my order and purchasing the acrylic. I could refer and also double-check for any mistakes before putting in my order.
Materials required:

From Left: Clamps, Acrylic Glue, Syringe with needle, Wooden Blocks
1. Acrylic Sheets: 7 panels in total; 5 Clear Panels, 1 Black Panel and 1 Mirrored Panel.
2. Acrylic Glue. From
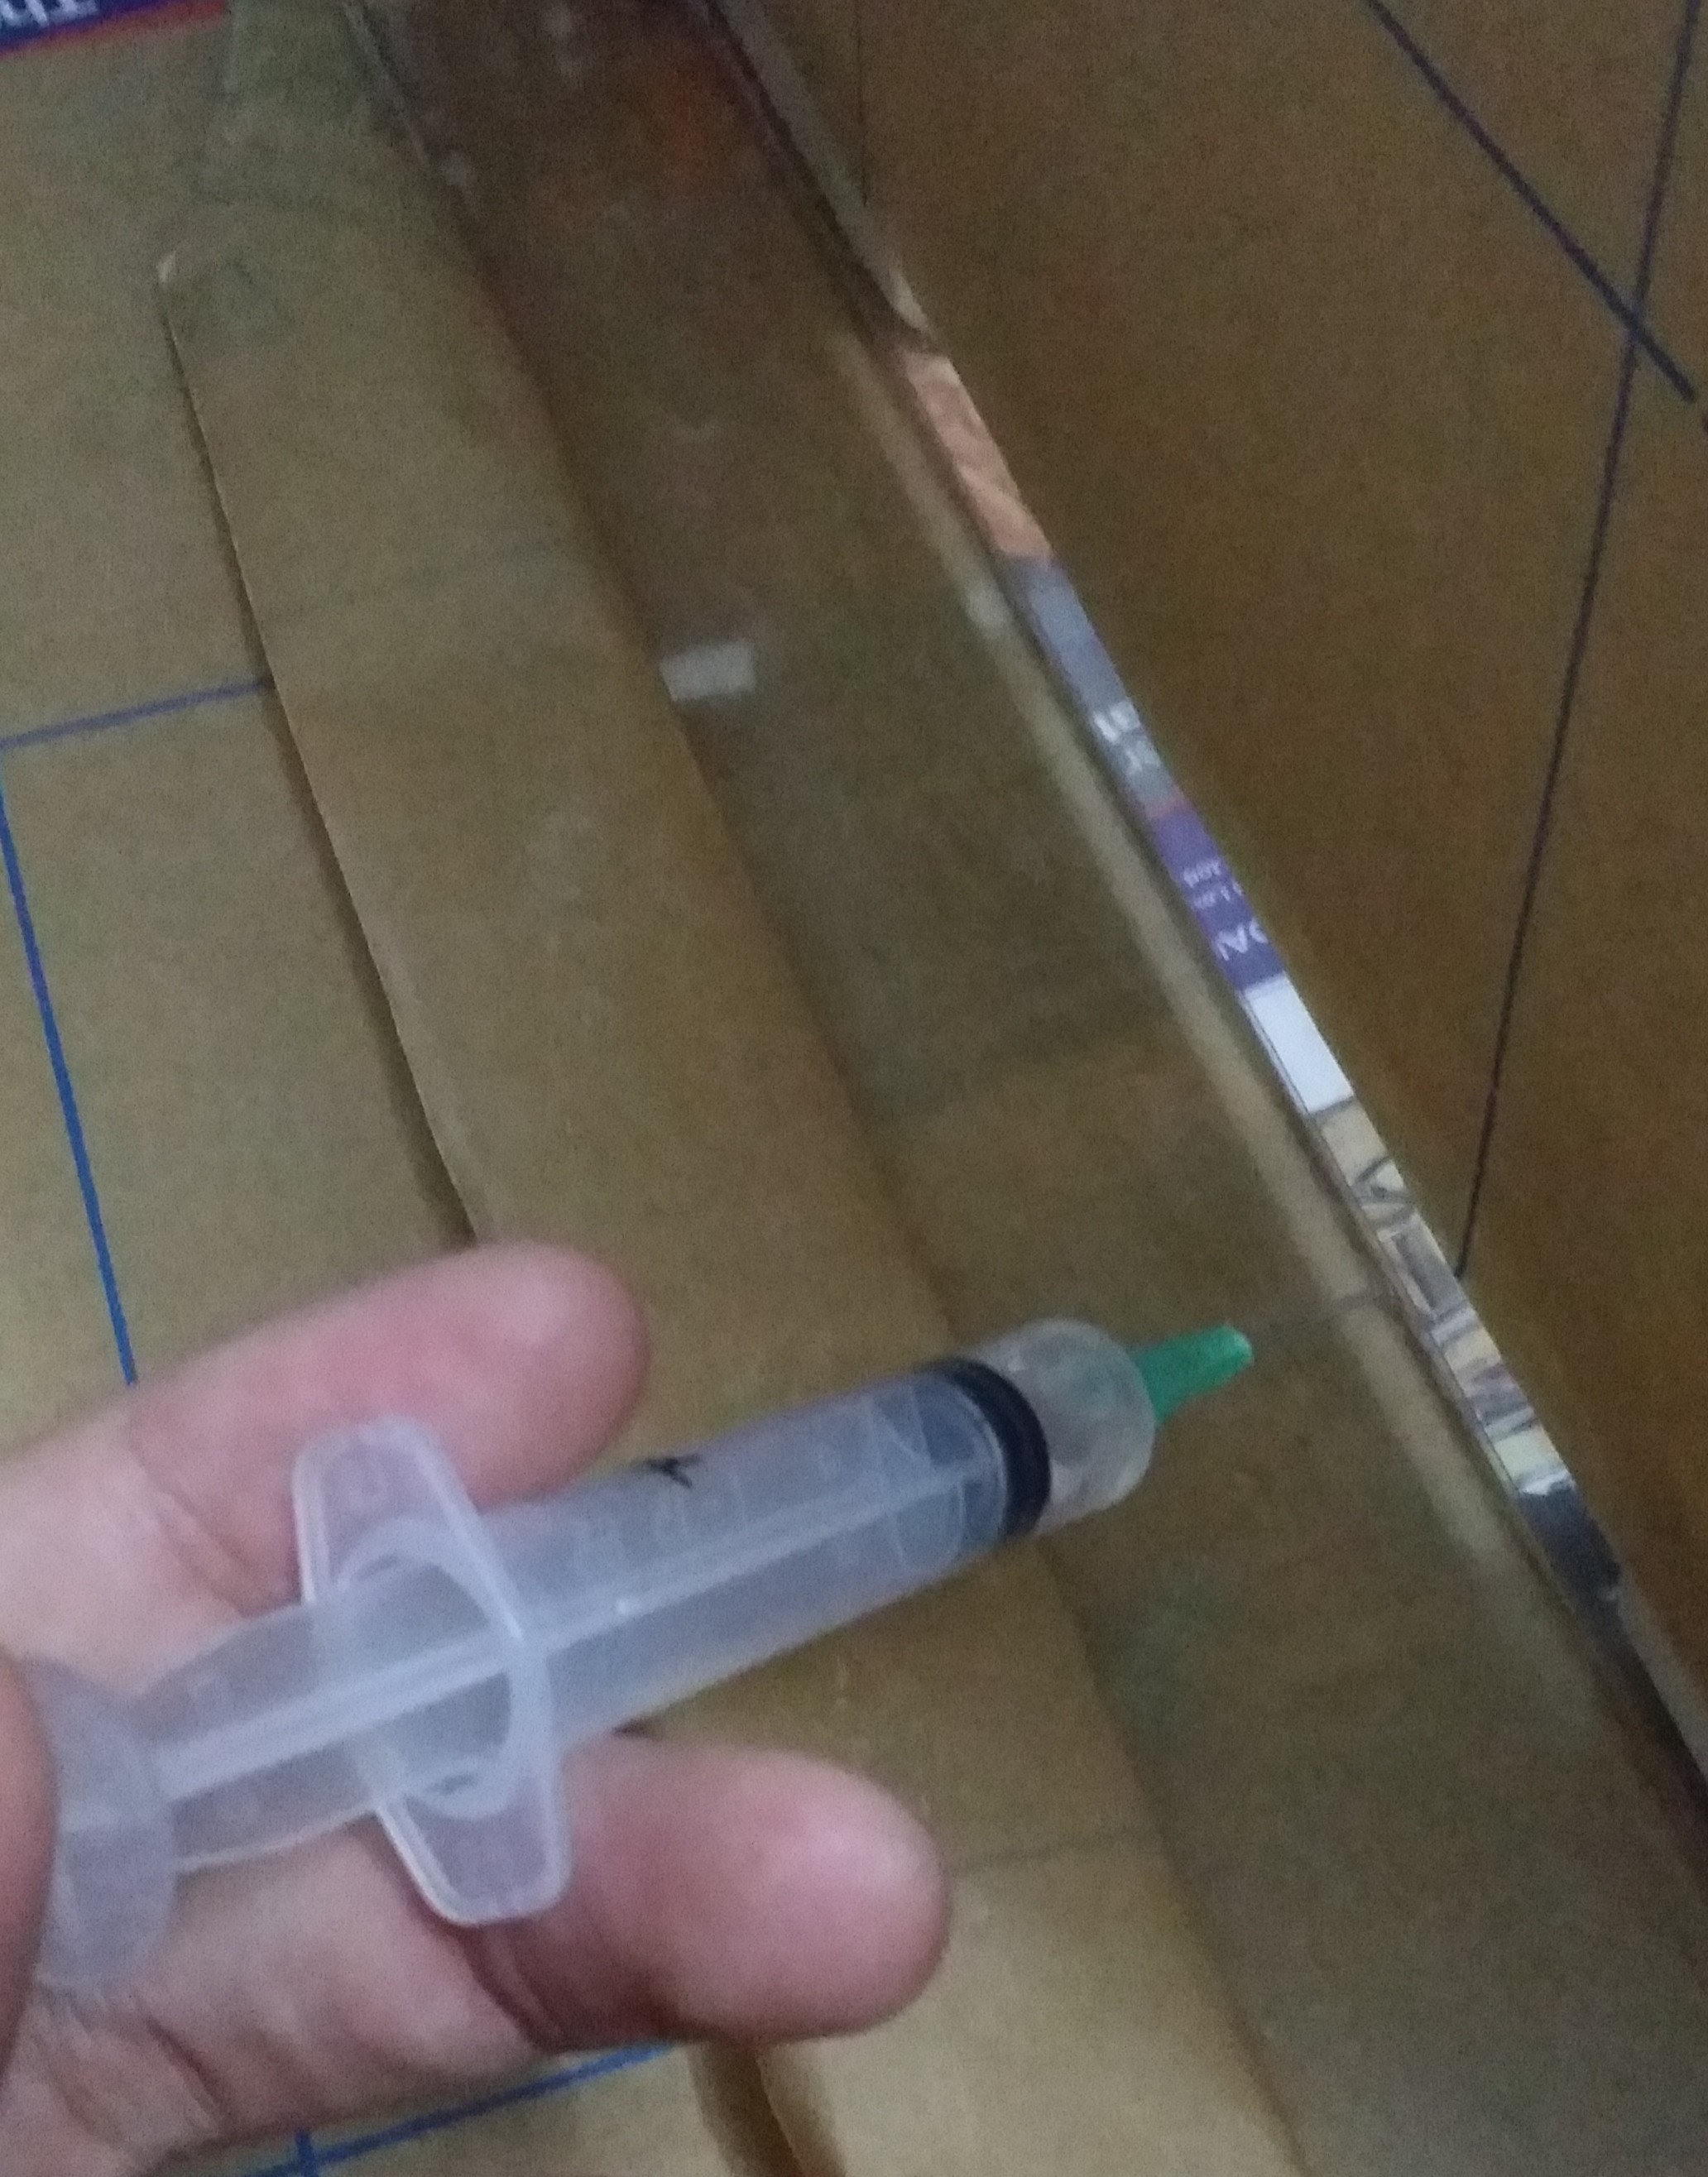
3. Syringe with needle. From Guardian.
4. Clamps. The one on the left was from Daiso. The other was from Homefix.
5. Wooden Blocks(note that one edge is chamfered).
6. Newspaper (to protect your work surface).
I purchased my acrylic panels from DAMA Trading Pte Ltd. Each panel costs about SGD2-3 with the exception of the aluminium-acrylic composite which costs SGD7. The panels came cut to size. There was no finishing or smoothing done to it but were nevertheless still nice, straight cuts. So far DAMA has been my to-go shop for acrylics for its range and most importantly low price.
Instead of using the syringe with needle to apply the glue, you can also use a brush to apply the acrylic glue. I am making use of the capillary action to allow the glue to seep into the joint, hence the syringe with needle. The syringe and needles can be found in personal health and care stores such as Watsons or Guardian. They are relatively cheap. I can’t remember how much though. I got the glue from Artfriend@Bras Besah.
I got the clamp on the left from Daiso, where everything is at SGD2, a few years back. I can’t seem to find it stocked there anymore. They are really good clamps for their price. The one on the left was from Home-Fix. It cost me under SGD10. I can’t remember the exact price though.

Original Block

Chamfering the edge with the sanding bit on the Dremel

Finished Chamfered Block
I got the wooden blocks(6 blocks) from Daiso from SGD2. The wooden block acts as support for the panels when they are being glued. The chamfered edge of the block prevents the glue from coming in contact with the block and bonding. This left quite a nasty bit of wood stuck onto the panel in my last build. I used my Dremel to make the chamfer. If you do not have a Dremel, you can simply use a saw to just simply cut off the edge. The idea is to make it chamfered enough to prevent it from coming in contact with the joint.
Assembly
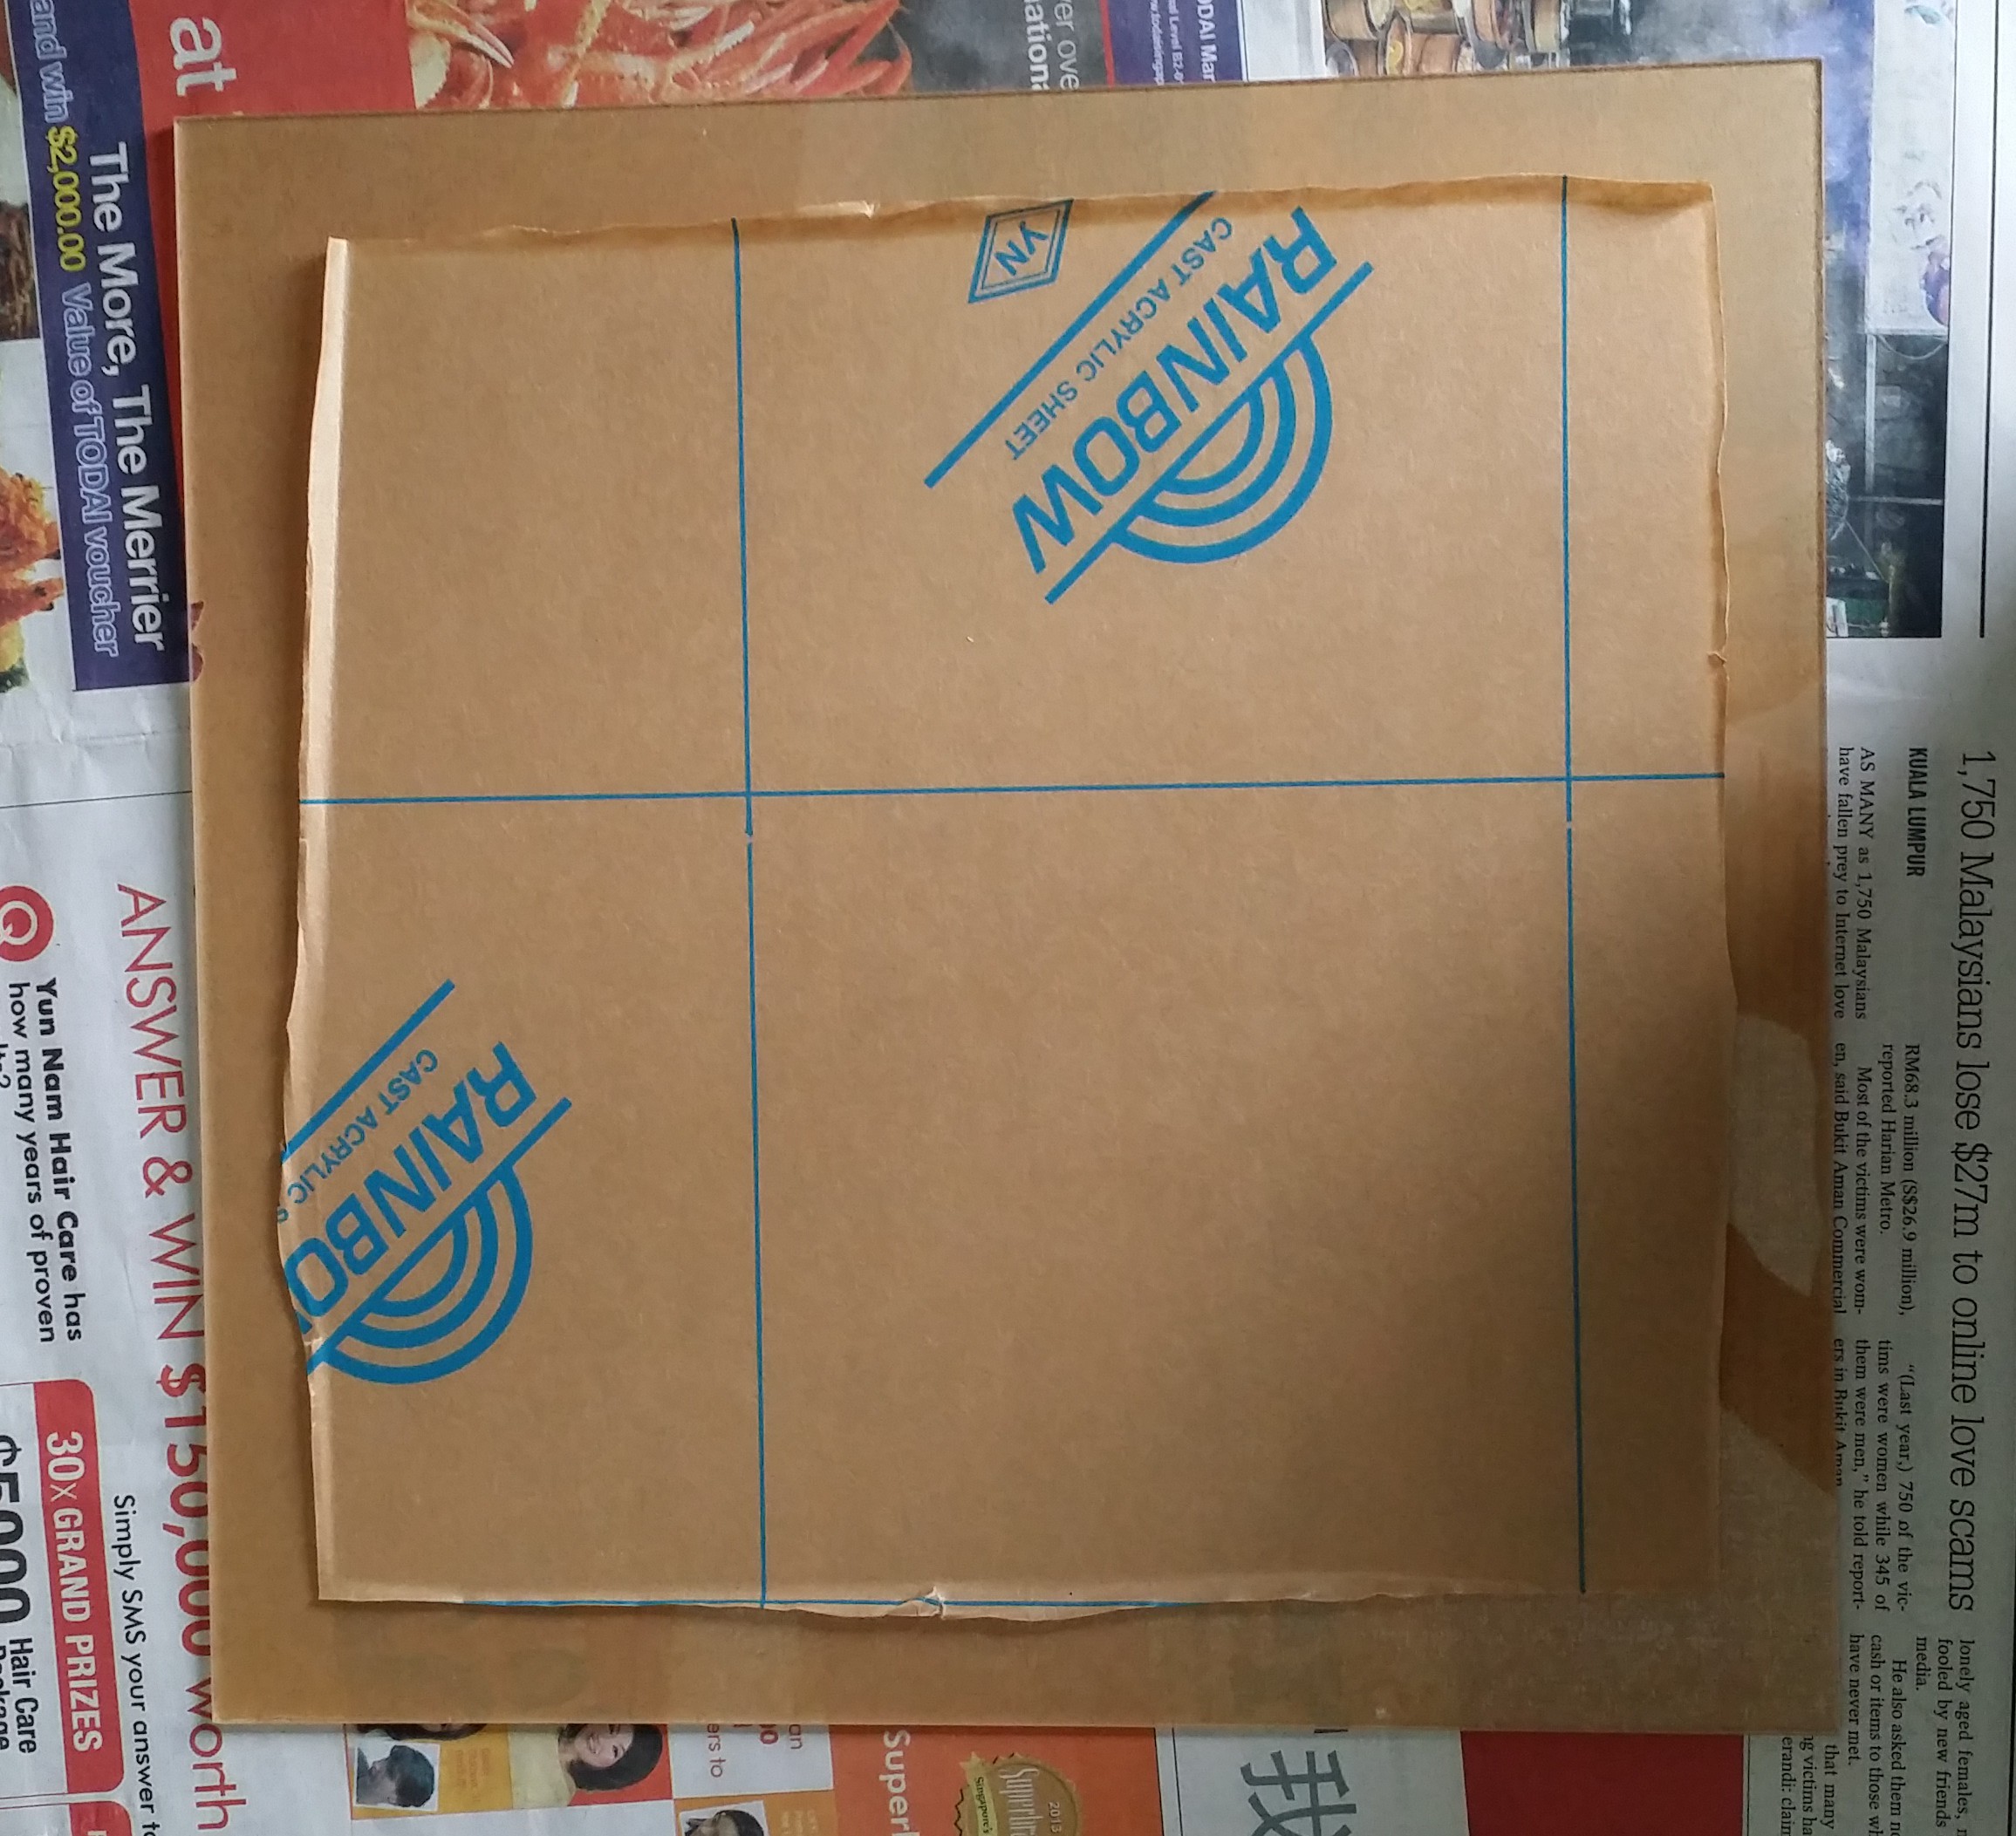
First, you will have to prepare your acrylic panels by removing the part of the protective layer on the edge you will be gluing. Keep the rest of it on to protect it from scratches. You can trim off the overhanging peeled off protective layer with a pair of scissors if it gets in your way. I started with the 350mm x 300mm panel first.
Protective layer pulled
Next, prop up the 350mm x 294mm panel with the wooden blocks and clamp onto the panel. Remember to peel of the protective layer as mentioned for the first piece, but on both sides. Take note that i have my 350mm x 300mm panel on the bottom and the 350mm x 294mm panel on top.

Panel Supported by the clamps and wooden blocks
Adjust the clamp and block to ensure the panels are in proper contact with each other. Check that the panels are aligned correctly before applying the glue. I loaded the syringe with the glue. You do not need to load up the whole syringe. About 2ml will be more than enough.
Applying the glue
To apply the glue, simply rest the needle on the joint and push the syringe to eject the glue while running the needle along the join. The glue will seep into the joint using capillary action. It is ok if you make a spill. The glue will evaporate away. The worst thing you could do is smudge it and make a mess.. It will take about 2 hours for the glue to bond, but i like to leave it overnight to allow the glue to sit nicely. Do the same for the other side. Make sure you get the correct panel before gluing it on.

3 Sides done!
Once you got 3 sides done, the 4th side will be slightly troublesome. Flip the assembly such that the bottom panel now faces up and place it on the 4th panel. You may notice that the edges may not be aligned. But that is alright. Glue one edge first, making sure the other edge is at least resting on the panel so that there is even contact and support it with the blocks and clamps. Once that is done, do the same for the other edge. For this edge, it may tend to run off when you try to align it. I placed some books on top to apply some force onto the panel and also used some Blue Tack to stop the block from sliding away. It worked well and was able to keep the panel from moving while the glue bonded.

Using books as weights. What else could they be used for?

Just a bit of Blue Tack to do the trick
Once that is done, we can glue the top panel. Peel and cut off the protective layer on the edges.
Peel and remove the protective layer along the edges
Prepare the side panel assembly by peeling and cutting off the protective layer on the edges to be glued. Try to use the side you find is the most flushed to be glued to the top panel.
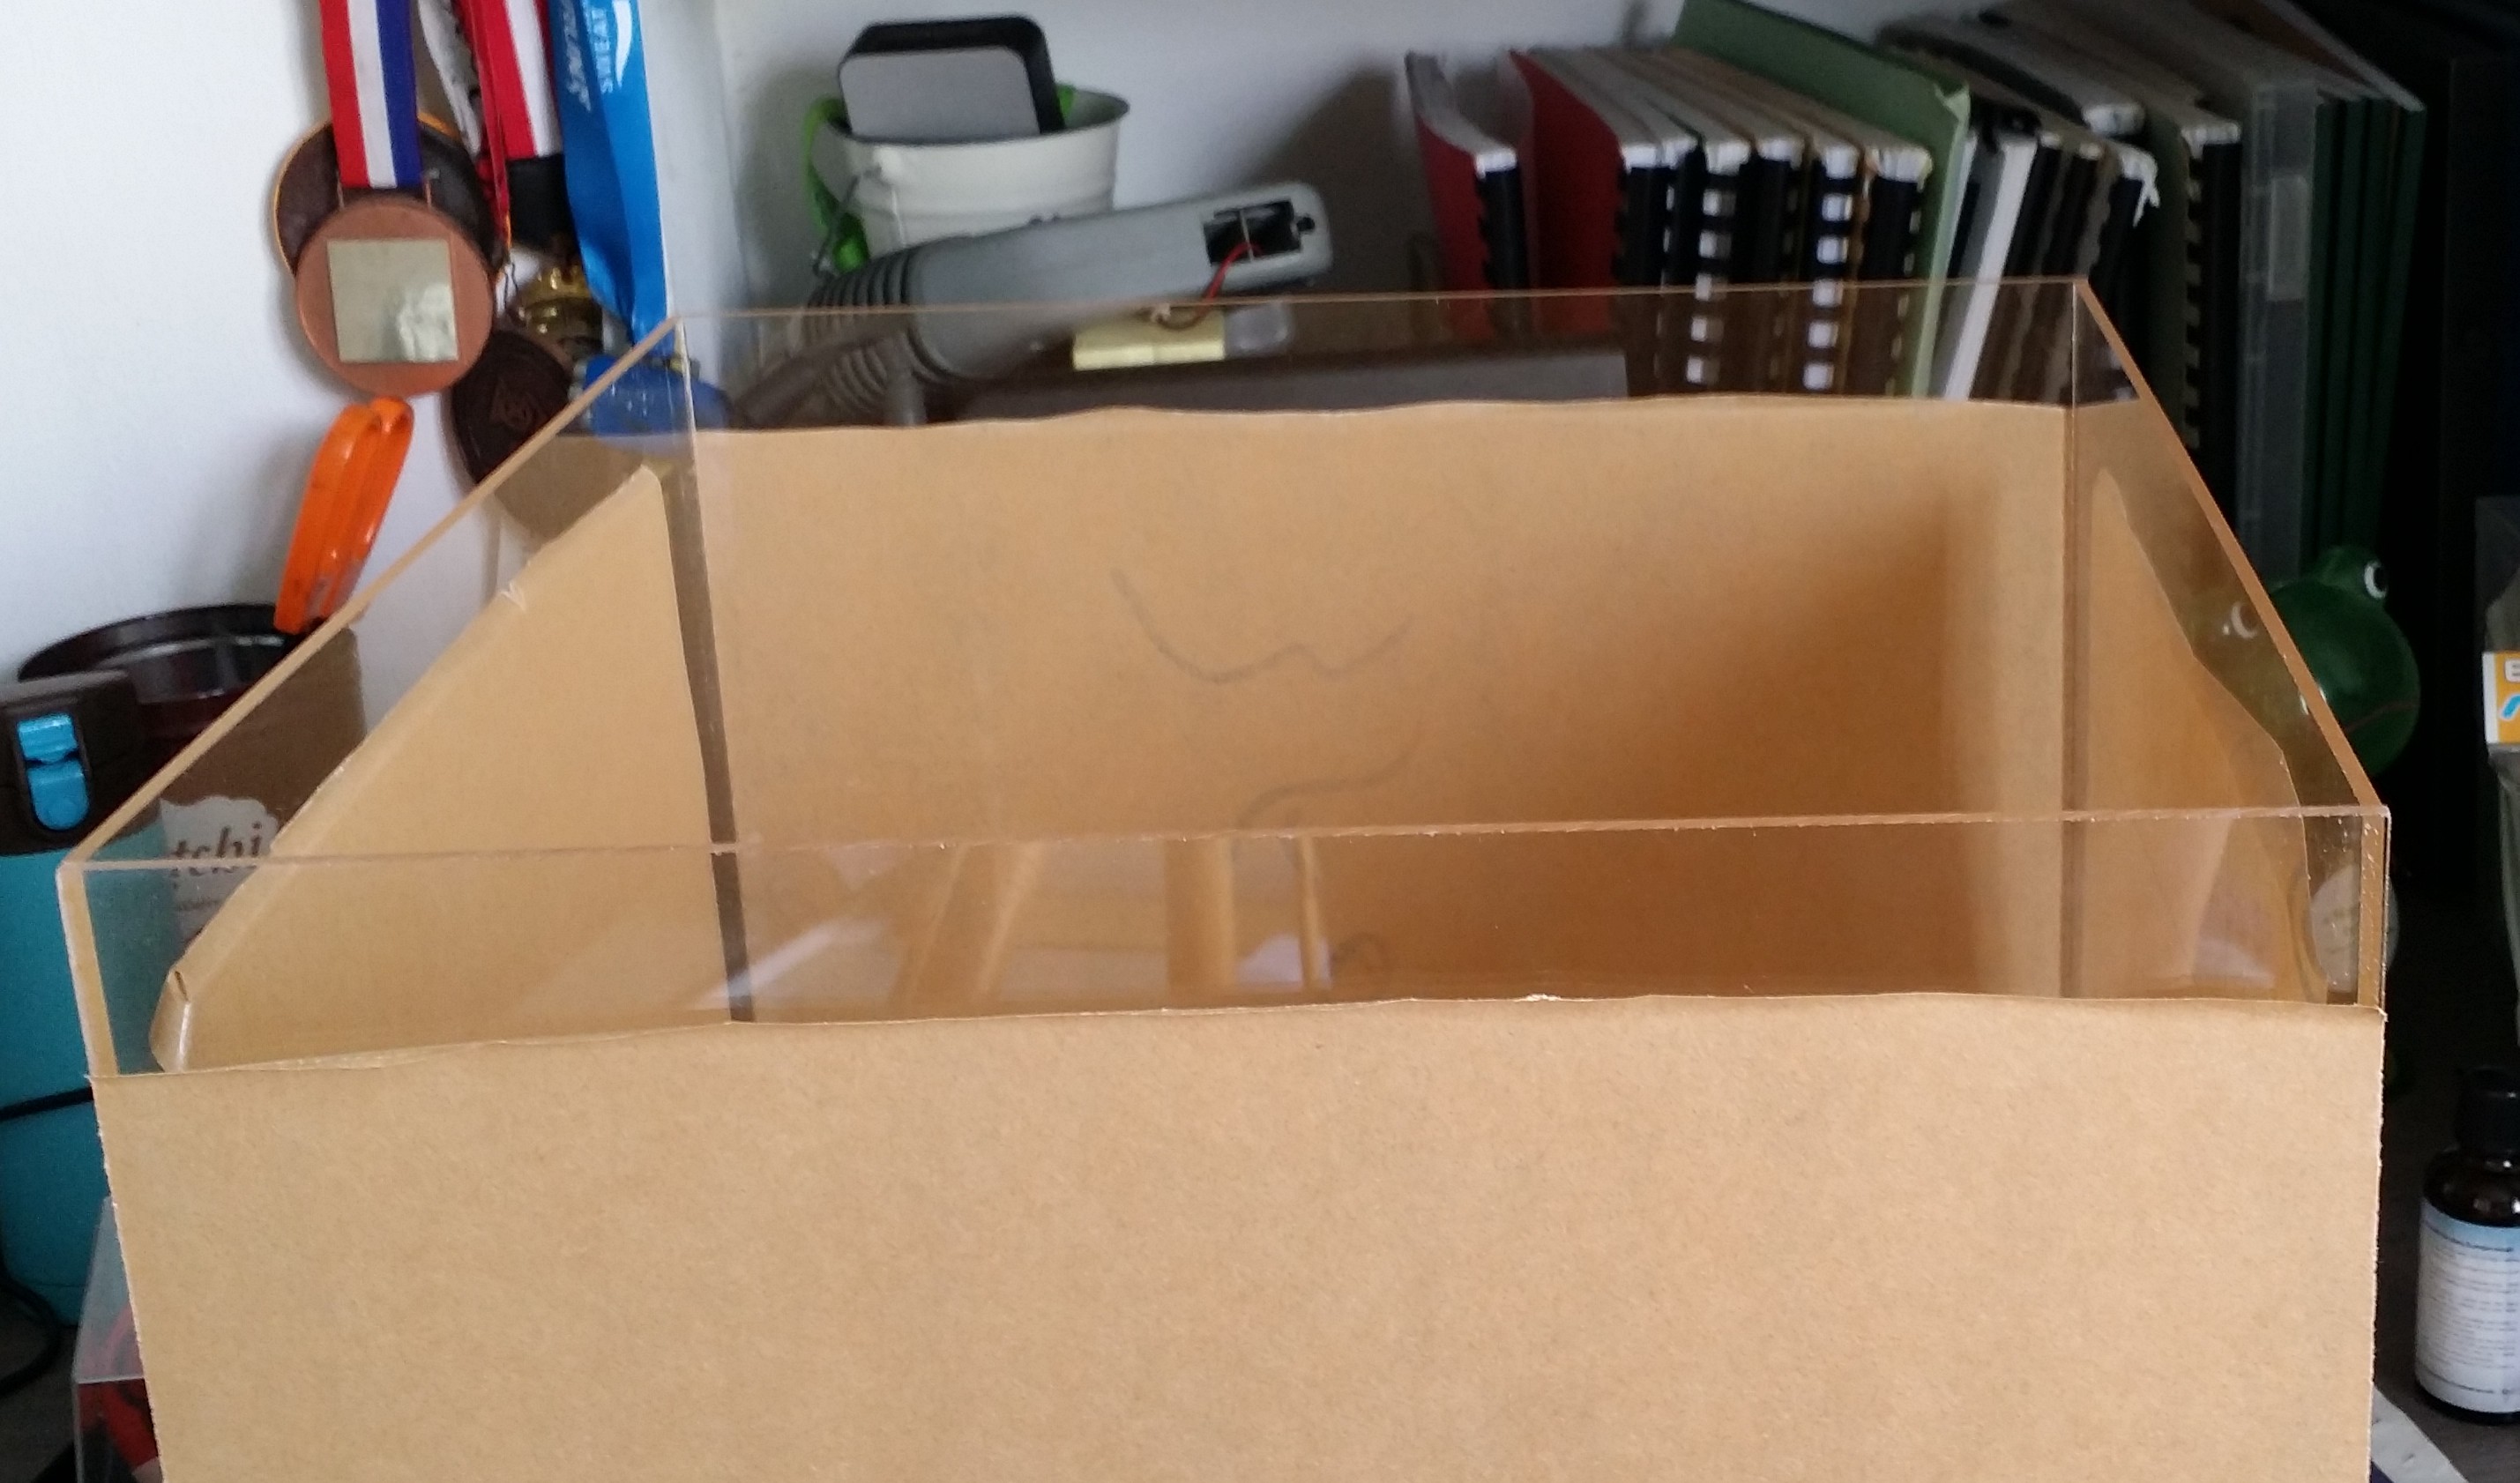
Preparing the side panel assembly
Lay the side panel assembly onto the top panel and align them. There might be some slight misalignment. Try to get the best alignment. Apply glue. When the glue sets, you can peel away all the protective layers and marvel at your work thus far.
*o*
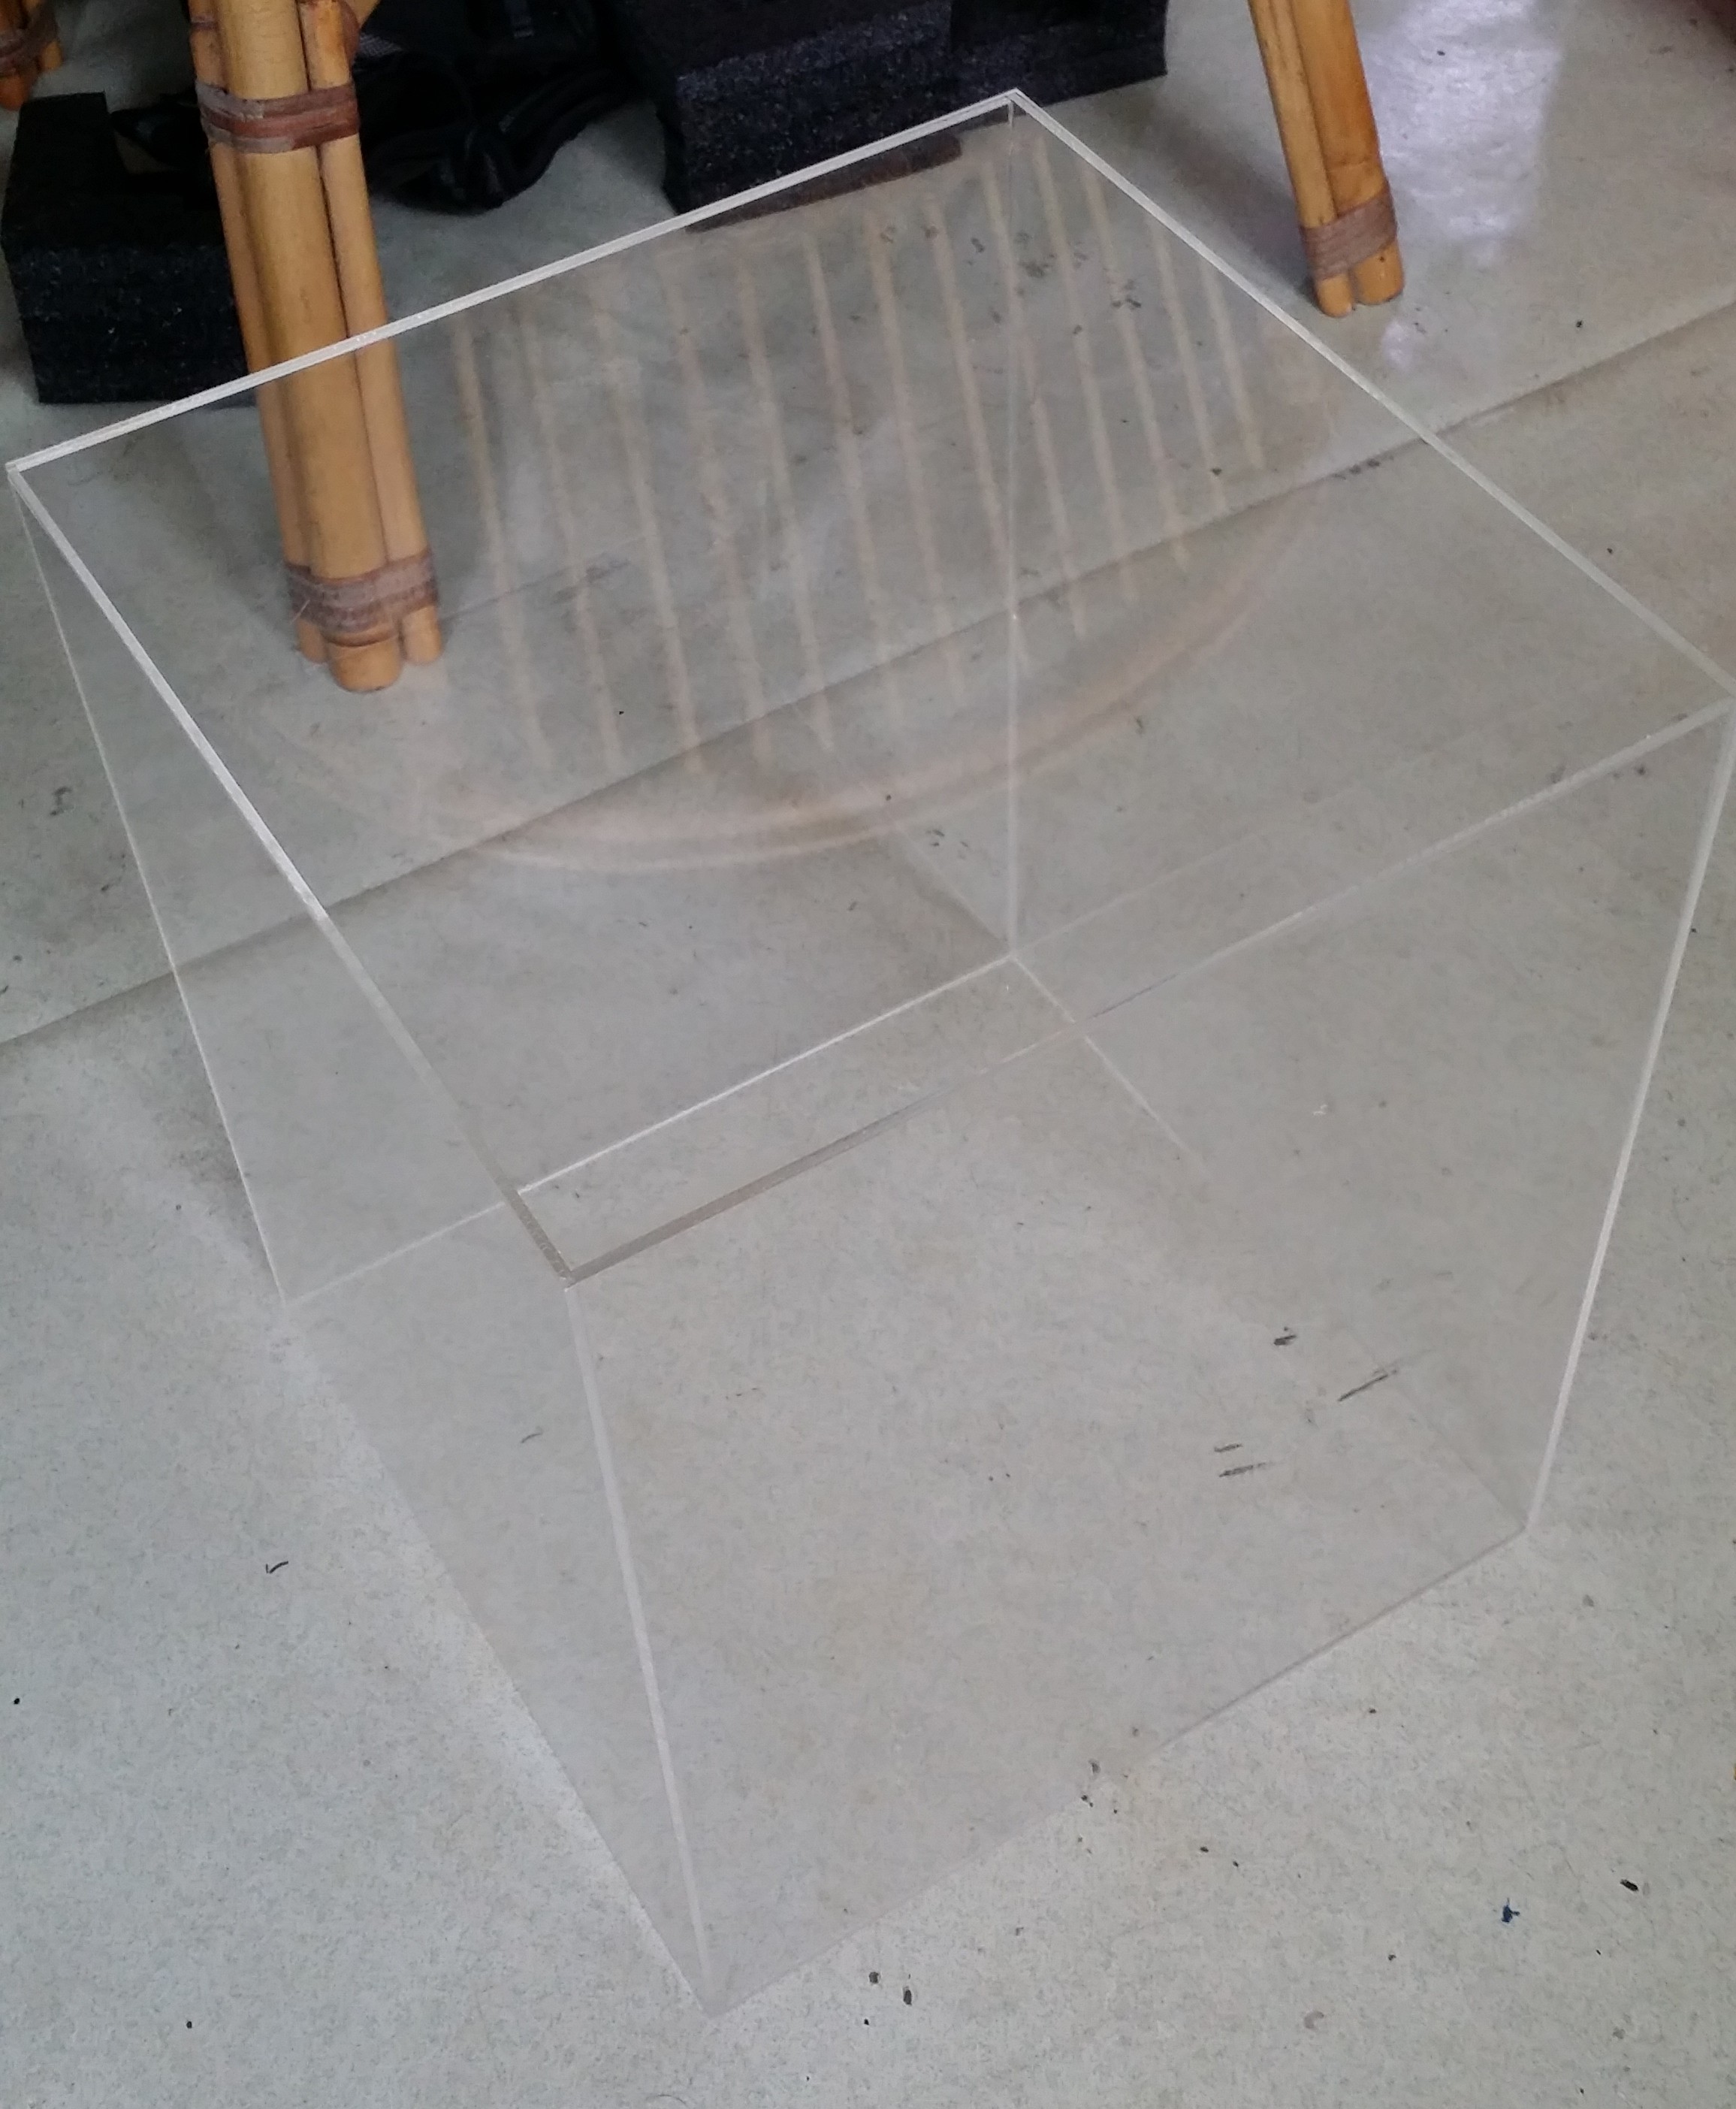
For the last part, just join the two base plates together. I used double-sided tape since i could not use the same glue on it since the aluminium-acrylic composite panel has a metal bottom and I felt that the double-sided tape would suffice. Do a check by laying the two bottom plates together then placing the assembled cover. The cover should sit nicely on the bottom panel and not move around too much. If you feel that you have to reduce the panel size to allow the cover to sit better, do so before gluing the bottom panels together.

Bottom Panel Assembly
Arrange your items inside the case and you are done!
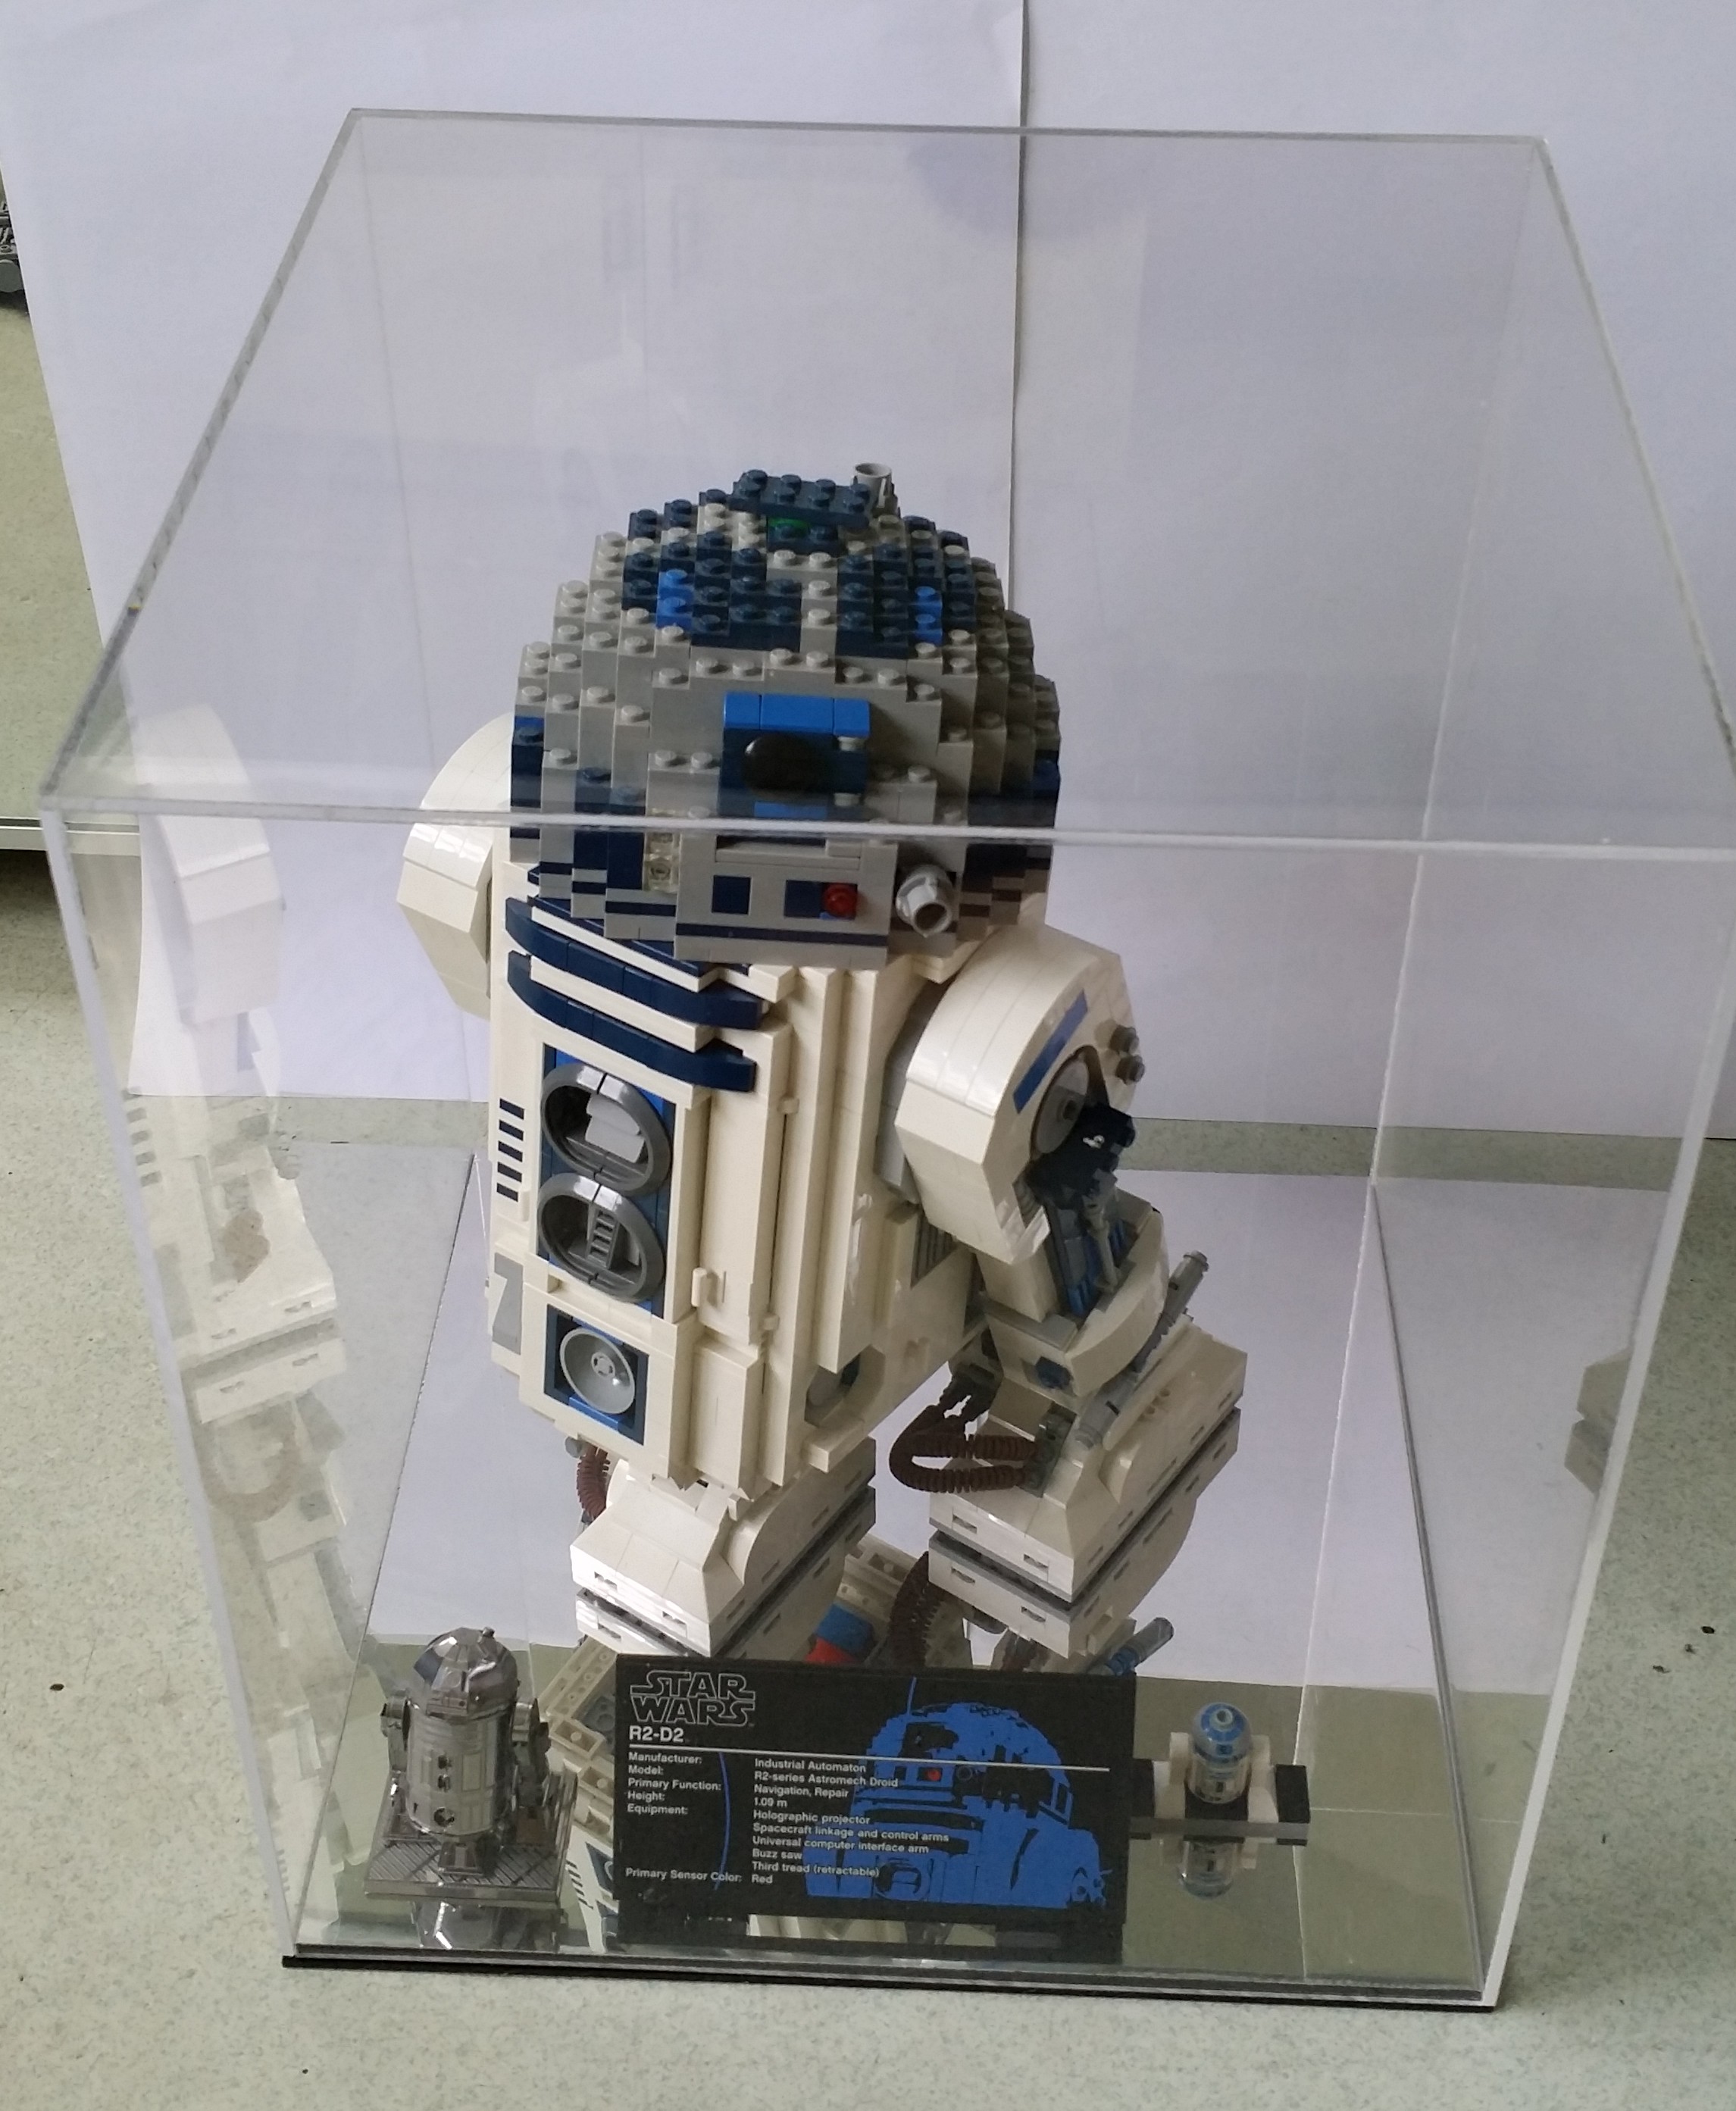
All that R2D2 goodness in one case!

Close-up on the name plate with the Minifig R2D2 and 3D metal model of the R2D2.

Side-by-side with the LEGO Volkswagen Camper Van Display
Conclusion
This is a really easy and useful build if you have items you want to display and protect from dust. You can choose different colours such as various colour tints or a different base plate. By applying the same assembly method, you may even create more complex designs such as a light-up unit. Buying a similar case from shops will often cost you at least SGD60. I did all this with no more than SGD25 and little work.
Feel free to leave comments or questions for us regarding this build and we will reply you as soon as we can. You can also get to us via email.
And as always,
Make.Share.Learn
